Quick Tip: When you connected the hardwired GPS tracking device’s red wire to the power source it is best to go with the poke and wrap technique.
6th Step: Hardwired GPS Tracking Device: Intro to Installation
What will probably help you is that the process of GPS installation is the fact that normally similar to installing a radio in the vehicle.
Having said this, if a technician can do this basic connection, you can do it as well. After all, it is not a rocket science.
In this process, there are two ways possible: One is by soldering electrical connections. The other one is to use wiretap connector.
Mounting Requirements for a GPS Tracker
- Power source connection – The power cable is nearly 3 ft long. The ideal place of the device is close to the power source. If it needs further requirement, you can wire it according to the voltage standards.
- Elements exposure – If you have weather protected hardwired GPS then you can place it anywhere. On the other hand, if it is not, then place it somewhere where it will be protected. For instance, under the dashboard, or cover it with a plastic box.
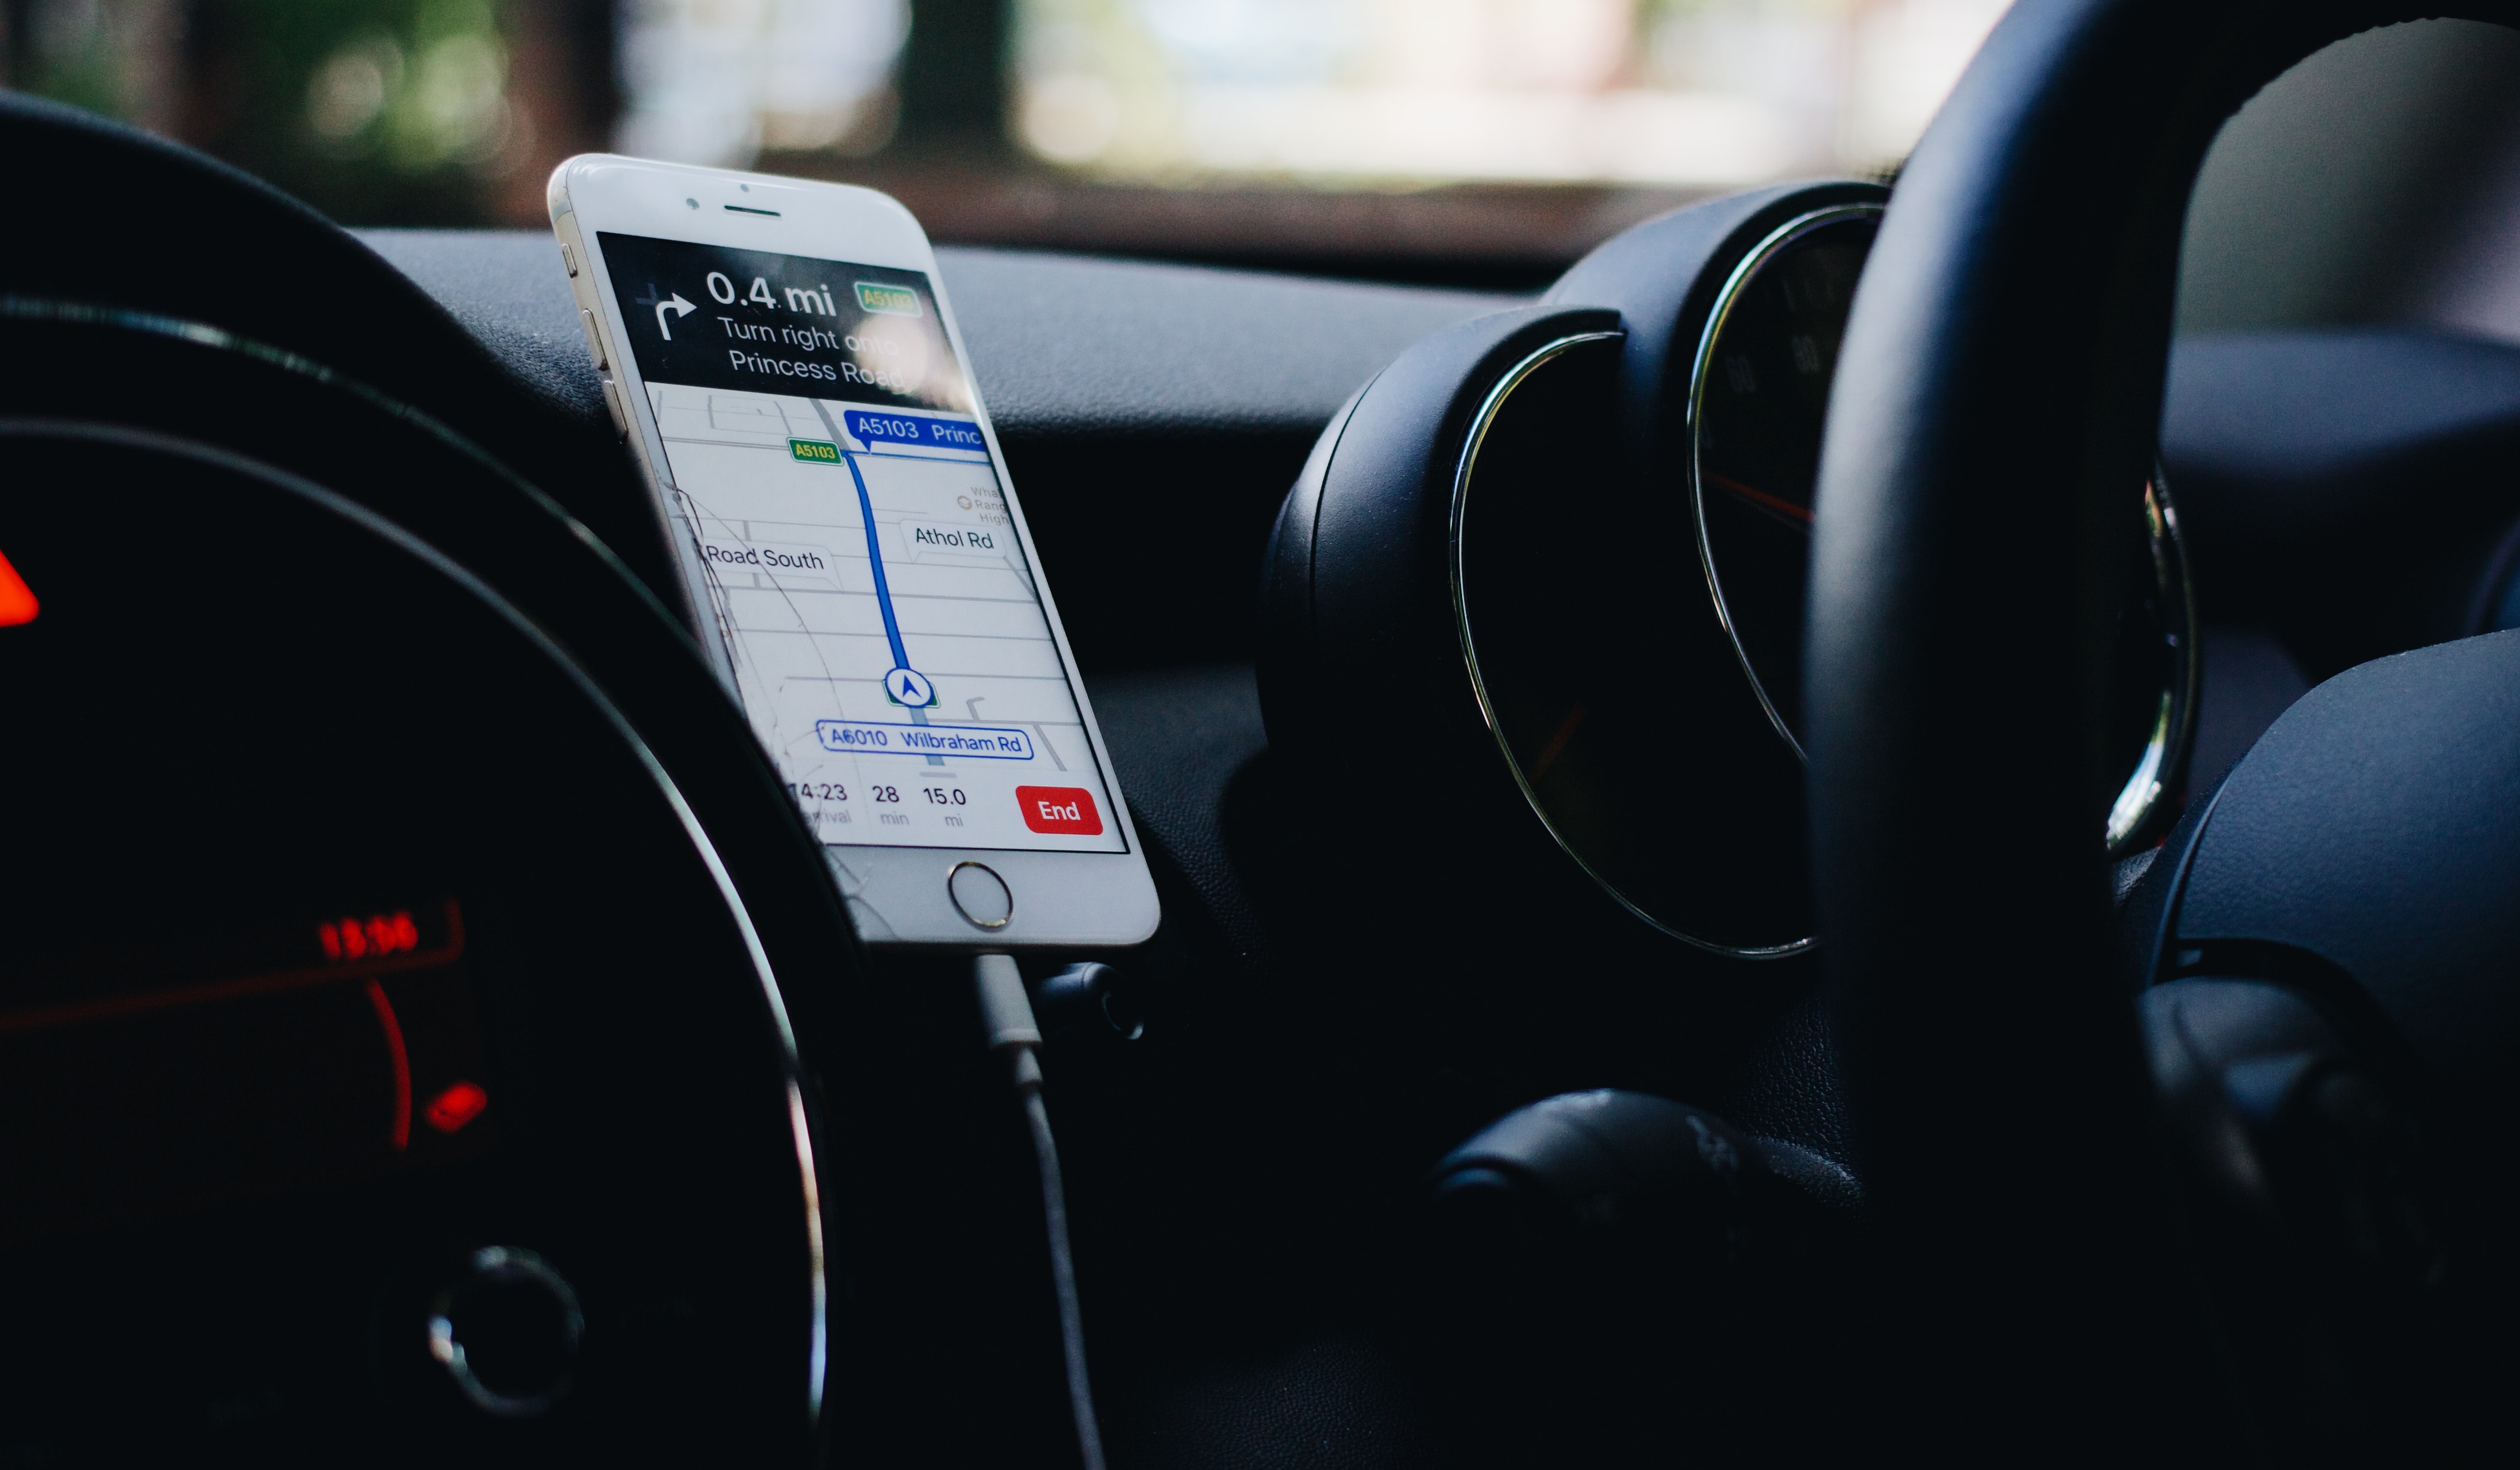
- View of the sky – Another important thing is that the device has a view of the sky. Attaching it to the dashboard means the antenna has a good view of the sky through the windshield.
Note: Make sure the device is not blocked by something metal.
7th Step: Installing the GPS Tracking Device
What you need to do to complete the installation of the hardwired GPS tracking device, a fleet tracking software setup is required.